 Buy
 Rent
 Sell
 New
 Prices





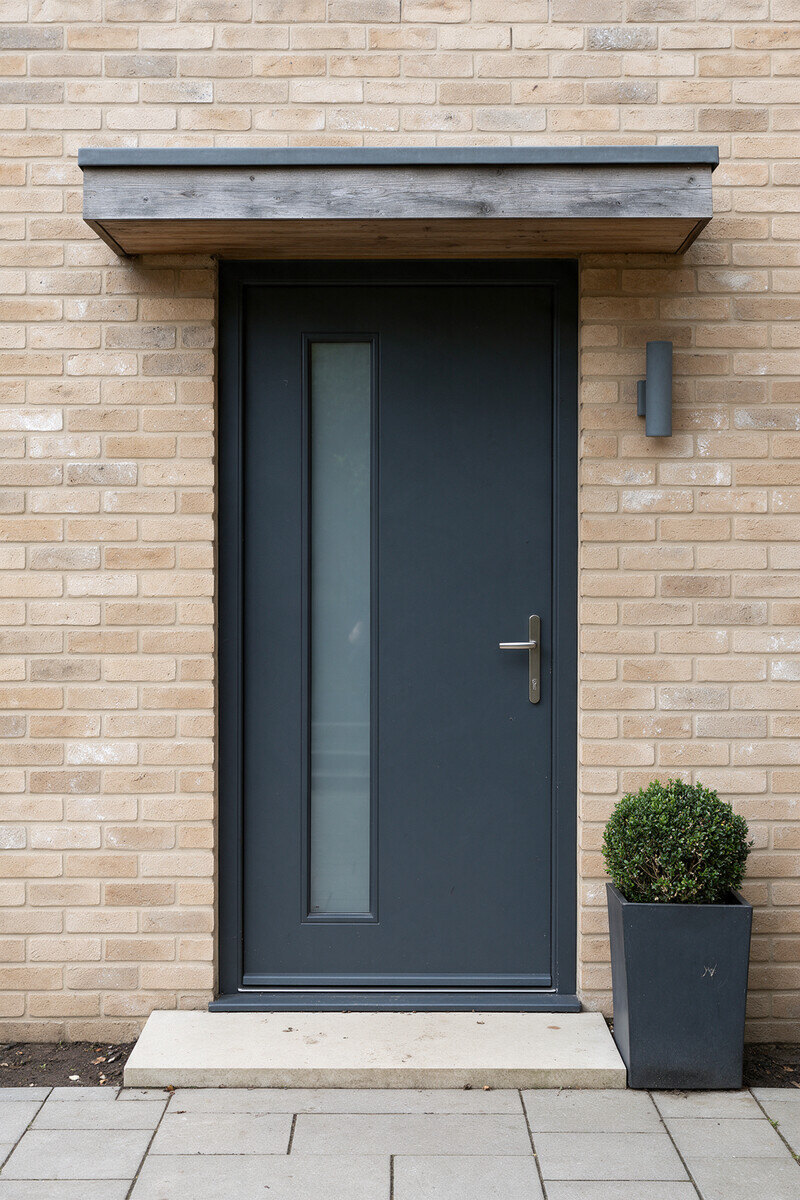
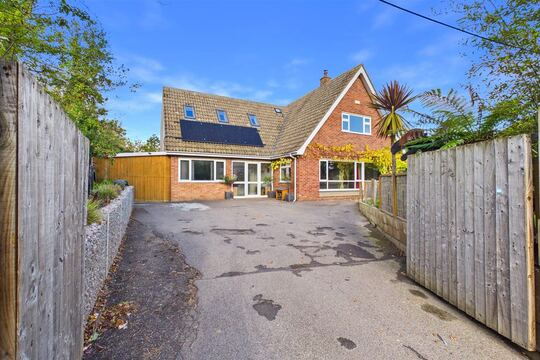
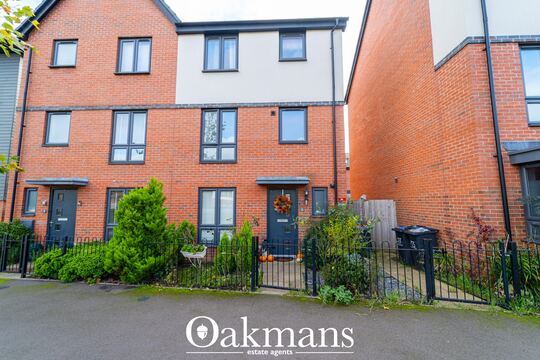
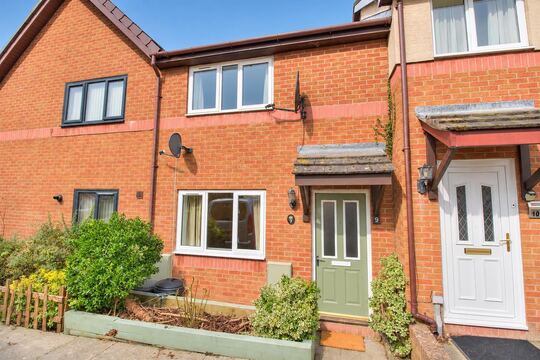
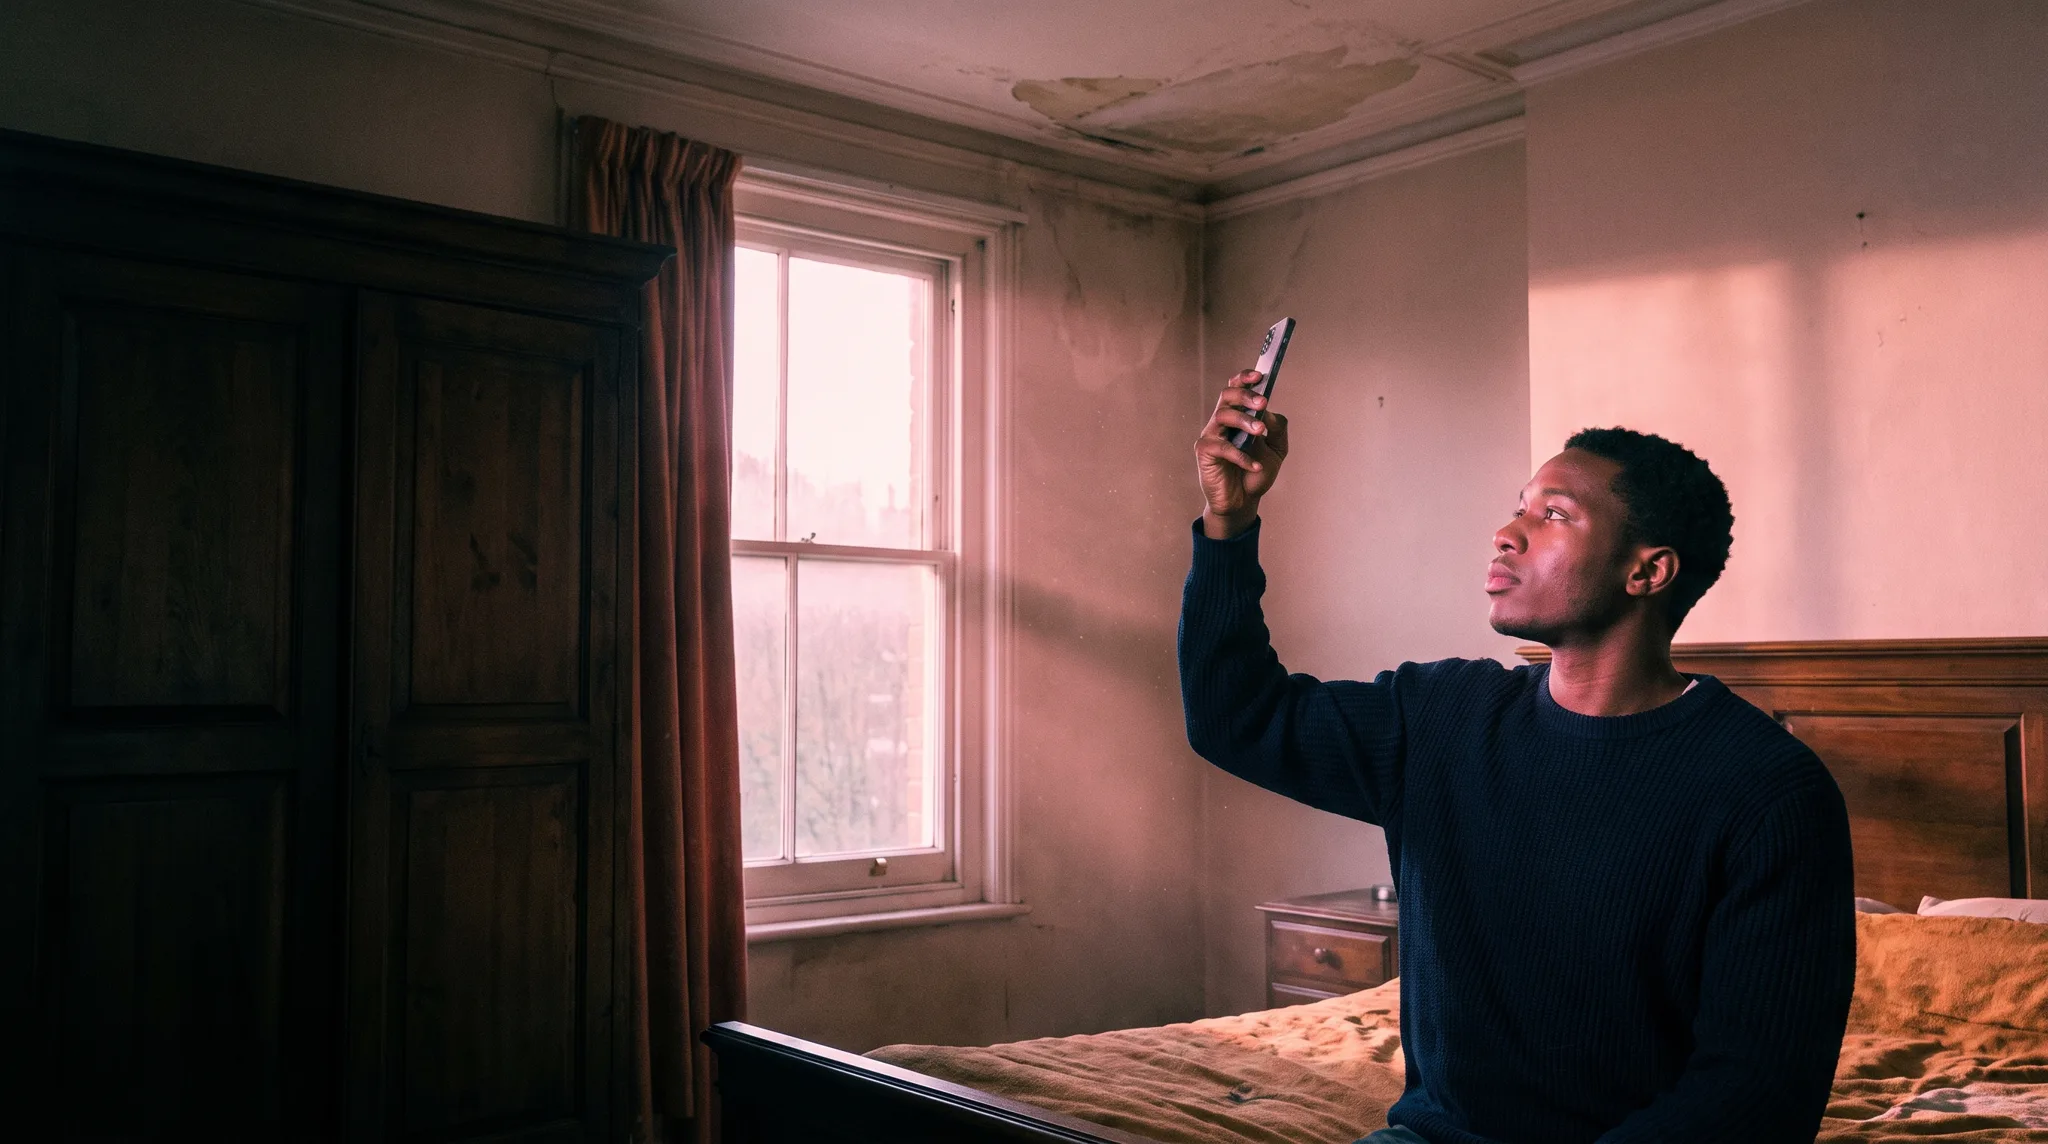
Every report leaves with the photos you expect.
Set the list, see it fill, issue with confidence. Choose the photos each report type must contain. Your surveyors see a checklist as they write, and a report can't be issued until each photo is there or the reason is written down.
Step one · Set the list
Your firm's standard, written down once.
Start from nine common views, then make it yours. Rename a photo, change the section it files under, add the ones your firm always takes, and remove the ones it doesn't.
Require set photos before a report is issued
On for Level 2 and Level 3
Level 2 Home Survey
9 photos
- Front elevation Front photo
- Rear elevation Tagged
- Chimney stacks D1
- Roof coverings D2
- Main walls D4
- Roof space E1
- Consumer unit F1
- Boiler / heating F4
- Drainage / inspection chamber F6
+ Add a photo
One list for each report type
Level 2 and Level 3 each keep their own list. Only your firm's managers can change it, and nothing changes for anyone until it's switched on.
Filed under its section
A photo filed under E1 counts for roof space. A photo filed under F1 counts for the consumer unit. No extra step for the surveyor.
Marked as the front
The front elevation counts when a photo is marked as the front of the property, the same photo that goes on the cover.
Tagged as the view
Any photo can be tagged as a view from the checklist, wherever it is filed. Useful for the rear elevation, which has no section of its own.
Printed in the report
Only a photo that prints counts. Photos kept out of the report, or held back as evidence only, don't tick anything off.
Step two · See it fill
Watch one report fill up.
A Level 2 on a Thursday afternoon. As the surveyor files photos, the checklist at the top of the report ticks itself off.
Required photos
0 of 9
-
✓ Front elevation Front photo
-
✓ Rear elevation Tagged
-
✓ Chimney stacks D1
-
✓ Roof coverings D2
-
✓ Main walls D4
-
! Roof space E1
Reason: No access, the hatch was painted shut.
-
✓ Consumer unit F1
-
✓ Boiler / heating F4
-
✓ Drainage / inspection chamber F6
An example report, shown for illustration.
How it works
A checklist in the report, not in someone's head.
Most firms check photos by reading the report through before it goes. This puts the list where the surveyor is already working.
A manager switches it on
Under Manage, Required photos. Check the starting list for Level 2 and Level 3, make any changes and save. From then on, every report your firm writes shows the checklist.
The surveyor files photos as usual
Each photo filed under a section on the list ticks that item off straight away. For a view with no section, the surveyor tags the photo from the checklist.
A gap gets a reason
Couldn't get into the loft? Write why. The reason clears the item and prints in the limitations of that section, so the client reads it in the report.
Step three · Issue with the gaps explained
Nothing goes out half photographed.
Until every item has a photo or a reason, the report waits. The surveyor is shown exactly what's left and taken straight to it.
Not ready yet
2 required photos are missing
Roof space, Rear elevation. Add a photo or a reason for each.
Open the checklist
Waits for the list
- Signing off
- Downloading or previewing
- Submitting
- Share link and customer link
- Release from a booking
Carries on
- Drafting and editing
- Adding and filing photos
- Reports already issued
- Firms with it switched off
Every way a report leaves
Sign-off, download, preview, submission, share links, the customer's link and release from a booking all wait for the list. Drafting never does.
Section E
Inside the property · Limitations
The floors were covered throughout and were not lifted.
Roof space: not photographed — No access, the hatch was painted shut and the seller didn't allow it to be opened.
Furniture and stored items restricted the inspection in places.
The surveyor's reason, printed where the client expects to find limitations.
Reasons the client can read
A reason prints in the limitations of the section it belongs to. The client sees what wasn't photographed and why, in your surveyor's words.
What actually changes
One standard across the whole firm.

1 · On site
The list is in the report
No laminated card in the van. The checklist sits at the top of the report the surveyor is already writing.

2 · Writing up
Gaps show before the client does
A missing roof photo turns up while the surveyor can still explain it, not in a call from the client a week later.

3 · Signing off
Every report meets the same bar
Whoever wrote it, the report has the photos your firm expects, or says plainly why not.
Plainly
What it does, and what stays with you.
Home does
- Keep your firm's list for each report type
- Tick an item off when a photo is filed, marked or tagged as that view
- Hold the report back until every item has a photo or a reason
- Print each reason in the matching section's limitations
- Leave reports you have already issued alone
You do
- Decide which photos your firm requires. The starting list is a suggestion
- Judge whether a photo shows what it should. Home checks where it's filed, not what's in it
- Write a reason the client will understand when a photo can't be taken
FAQ
Common questions about required photos
Setting the list
Which photos are on the list to start with?
Level 2 and Level 3 reports start with nine: front elevation, rear elevation, chimney stacks, roof coverings, main walls, roof space, consumer unit, boiler or heating, and drainage or an inspection chamber. You can rename, remove or add to either list.
Can each report type have its own list?
Yes. Level 2 and Level 3 each have their own list, and you can reset either one to the starting list at any time.
Is it on by default?
No. Nothing changes until a manager switches it on.
Who can change the list?
Your firm's managers. Everyone else at the firm can see the list, tick items off and write reasons on the reports they work on.
Where do I find it?
In your surveyor dashboard under Manage, Required photos.
Photos and reasons
How does a photo count towards an item?
A photo counts when it is filed under the item's section, for example roof space under E1. The front elevation counts when a photo is marked as the front of the property. A surveyor can also tag any photo as a view from the checklist, wherever it is filed.
Does a photo kept out of the report count?
No. Only a photo that prints in the report counts. Photos kept out of the report, or held back as evidence only, do not.
What if a photo can't be taken?
The surveyor writes the reason instead, for example "No access: the hatch was painted shut". That reason prints in the limitations of the matching section, so the client sees why it is missing.
Does Home check what is in the photo?
No. Home checks that a photo is filed or tagged as that view. Whether the photo shows what it should is the surveyor's judgement.
Issuing a report
What exactly waits until the list is done?
Signing the report off, downloading or previewing it, submitting it, opening it from a share link or the customer's link, and releasing it from a booking. Drafting and editing carry on as normal.
What does the client see if they open a link too early?
A plain message that the report is not yet available. The reason stays inside your firm.
Are reports we have already issued affected?
No. A report that was issued before you switched this on is left alone, unless it is changed afterwards.
More tools
Explore the rest of the surveyor toolkit

Home Academy
Short lessons on Home tools
Learn the steps, try the real tools and follow a first-week path to your first Otto report.

Otto
AI auto-mode RICS report writer
Dictate on-site, upload photos, get a finished, fully-routed Level 2 or Level 3 report in minutes.

Level 2 Report Writer
RICS Home Survey Level 2
Field-by-field RICS Level 2 reports with inline AI suggestions, image gallery, comparables and one-click branded PDF.

Level 3 Report Writer
RICS Building Survey Level 3
Comprehensive Level 3 Building Survey reports with deep technical sections, custom rating scales and AI legal-adviser notes.

Surveyor Comparable Tool
Sold + rental comps in one click
Auto-fetch sold and rental comparables within a 1-mile radius, weighted valuation range, branded PDF appendix for any survey.
Snagging Report Builder
New-build defect tracker
Build professional new-build snagging lists with location-based defect tracking, photos, urgency, status and PDF export.

Schedule of Condition
Room by room, photo by photo
A dated record of a property's condition, every elevation and every room, dictated on site with numbered photos referenced for you and a branded PDF. No ratings, no advice.

AI Dictation
Voice-to-fields routing
Speak observations on-site; AI routes every sentence to the correct RICS field with confidence scores and replayable audio.

Image AI
Auto-categorise survey photos
Upload up to 200 photos; vision AI tags each to the right RICS element, rates condition, extracts defects and picks the best 35 for the report.
Style Profile
Your firm's writing fingerprint
Teach the AI to write like your firm — upload past reports, the AI extracts a 25-dimension writing fingerprint and applies it to every future auto-mode report.

Property Viewer
Pre-survey property intelligence
Look up any UK property and instantly see EPC, energy renovation costs, broadband coverage, environmental risks (flood, radon, mining, landfill), invasive plants, sales history and listing status — all in one dashboard.

Property Data Drawer
EPC + risks + comps in one panel
Open the property data drawer in any report to see EPC, environmental risks, listing history and comparables — copy-paste ready.

Standard Phrases
Reusable language library
Personal, firm-wide and industry-preset phrase libraries — insert with one click and use to train AI routing for voice consistency.

RICS Standards Check
A Home Survey Standard check before you sign
One-click AI check against the RICS Home Survey Standard — flags missing content, weak ratings and structural gaps before you sign the report.

Quote Builder
Clear choices, a date to decide
Send branded survey quotes with up to three options, a PDF and an expiry date. Reuse service templates, track responses and see your win rate.

Home Payments
Paid faster, no invoicing
Home Payments mission control — customers pay at booking through a Stripe-verified checkout, payouts land on a schedule you can see, payment links cover your private work, and there is no invoice chasing ever again.

Bookings CRM
Every job, one pipeline
The surveyor CRM built into the platform — Homemove jobs land pre-paid with customer and property attached, enquiries convert to bookings, and the whole pipeline runs from one screen.

Panel work
Every panel job, every deadline
Run jobs from the other panels you work for beside your own. List each panel with its usual fee and turnaround, add a job in under a minute, and watch every report deadline count down.

Calendars & Requests
A diary that fills itself
Per-surveyor diaries with live availability — keep your dates current and we book real jobs straight in, with inbound availability requests answered in a tap.

The firm inbox that knows the job
A full mail client scoped to your firm — @home.uk purpose mailboxes and per-user addresses, with every thread landing against the booking it belongs to.

Documents & e-sign
Signed before you set foot on site
Terms of engagement sent with the booking, tracked from sent to signed, chased automatically and stored against the job — no more chasing clients to sign.

Insurance & conflict checks
Safe to take the job
Every new job is checked against your firm's own history, so you know when you have surveyed a property before. Your PI insurance is tracked with reminders, and new reports can't be issued once recorded cover has lapsed.

Telephony
The firm number that never misses a job
A phone system built into the platform — take calls in the browser, forward to mobiles, ring the whole team at once, and keep a shared call log with optional recording.

Customer portal
Your client, never in the dark
A white-label portal under your firm's branding and domain — booking status, reminders and secure report delivery, so customers stop asking where things are.

Website builder
Built by asking, not designing
A firm website built and edited by talking to Inigo — brand and theme sync, a real section library, custom domains via CNAME, and enquiries that land in your pipeline.

Campaigns
Win the next job from the last one
Firm email campaigns with per-recipient tracking — sends, opens, clicks and read time — built on consented lists with one-click unsubscribe handled for you.

Reviews & badges
Proof that wins the next booking
Reviews earned on real completed jobs — scored by the homemover, shown on your directory profile — plus embeddable trust badges that carry the proof to your own website.

Performance
See the pipeline, beat the clock
Firm analytics without the spreadsheets — pipeline conversion, team performance and your own turnaround speed, the fourth lever of your rate.

Inigo
The AI assistant for surveyors
Ask in chat, dictate by voice, or click any element for contextual help — grounded answers on valuations, sales history and market data, inside the platform.

AI Training
Teach it your standard
Upload past reports and press Train — the AI learns your firm's defect language, ratings philosophy and phrasing, and Otto writes with it on every job.

Environmental Report
Every risk, one report
A one-click environmental risk report for any property — flood, ground stability, environmental factors and planning constraints, delivered as a PDF.
Free directory listing. Pay-as-you-go toolkit.
Every RICS-regulated surveying firm gets a verified profile, direct bookings from home.co.uk consumers and the surveyor toolkit included with the account. No subscription. No pay-per-lead. No commission on the job. Pay only when you use the premium AI tools.
2 minute setup · Verified against the RICS register · Trusted UK property platform since 1995